A well-maintained floor can make a world of difference in the overall appearance of a space. It not only enhances the aesthetics but also contributes to a clean and hygienic environment. Among the various methods to keep your floors in top-notch condition, floor strip and wax is a fundamental process that can rejuvenate tired, worn-out floors whether you have tile or wooden floors. In this guide, we’ll delve into the art of floor strip and wax, exploring its benefits, step-by-step procedures, and the long-lasting impact it can have on your home or business.
The Importance of Floor Strip and Wax
Floors endure a considerable amount of wear and tear over time, from foot traffic to spills and stains. This continuous stress can lead to a dull and unattractive appearance, as well as compromise the integrity of the floor surface. Floor strip and wax is a comprehensive solution that addresses these issues by removing old wax and dirt buildup, revealing the clean, pristine surface beneath, and applying a fresh coat of wax to protect and enhance the floor’s appearance.
Benefits of Floor Strip and Wax
- Restores Shine: One of the most noticeable benefits of floor strip and wax is the restoration of the floor’s natural shine. Over time, dirt, grime, and old wax can cause floors to look dull and lifeless. By stripping away these layers and applying a fresh coat of wax, your floors will gleam like new.
- Enhances Durability: Wax acts as a protective barrier for your floors. It shields them from scratches, scuffs, and stains, extending their lifespan. Regular floor strip and wax not only keeps your floors looking great but also ensures they remain resilient over time.
- Improves Safety: Worn-out floors can become slippery and hazardous. Floor strip and wax not only improves the appearance of your floors but also enhances safety by providing better traction, reducing slip and fall accidents.
- Cost-Effective: Investing in floor strip and wax is a cost-effective alternative to completely replacing your flooring. It revitalizes your existing floors, saving you money in the long run.
- Maintains Hygiene: Over time, dirt and grime can penetrate the cracks and crevices of your flooring, leading to an unsanitary environment. By removing these contaminants during the floor strip and wax process, you can maintain a cleaner, more hygienic space.
The Step-by-Step Process
Now that you understand the benefits of floor strip and wax, let’s dive into the step-by-step process to transform your floors:
- Prepare the Area: Clear the area of all furniture and obstacles to ensure an unobstructed workspace.
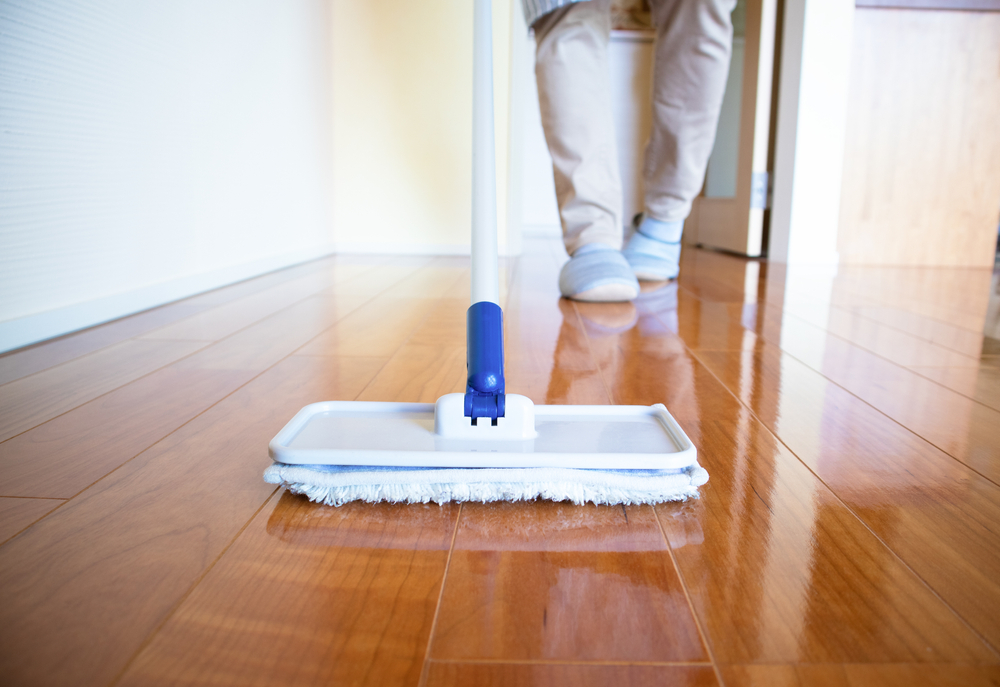
- Dust and Sweep: Thoroughly remove loose dirt and dust from the floor using a broom or a vacuum cleaner.
- Select the Right Stripper: Choose a high-quality floor stripper that is suitable for your specific flooring type. Follow the manufacturer’s instructions for dilution and application.
- Apply the Stripper: Using a mop or an applicator, evenly spread the floor stripper across the entire surface. Allow it to sit for the recommended dwell time to loosen the old wax and dirt.
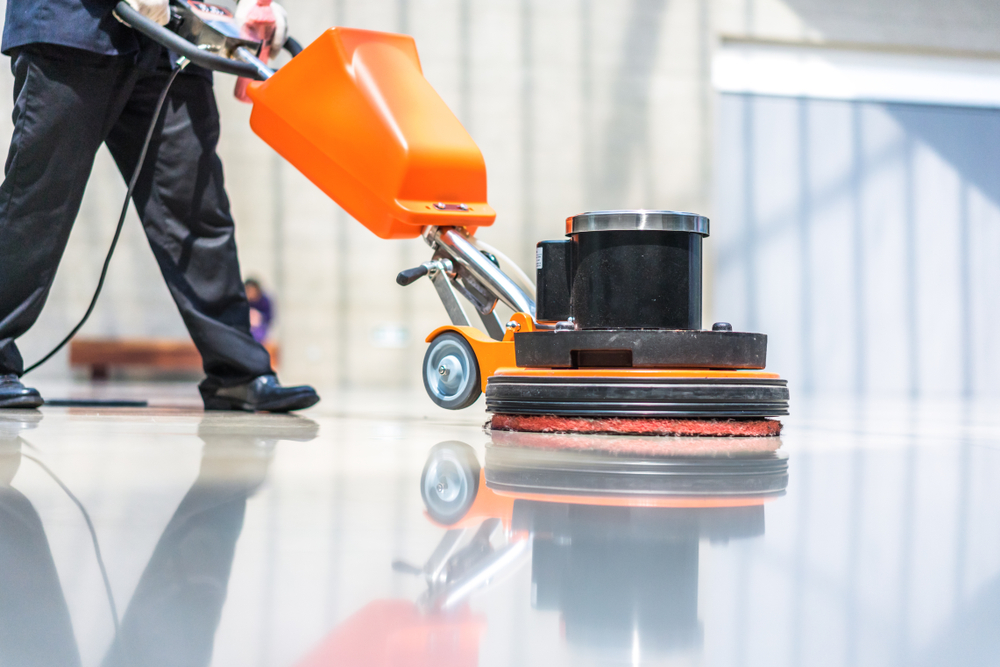
- Scrub the Floor: Use a floor scrubbing machine or a scrub brush to agitate the stripper and remove the old wax and grime. Pay special attention to high-traffic areas and stubborn stains.
- Rinse and Neutralize: Rinse the floor thoroughly with clean water to remove any remaining stripper residue. Next, apply a neutralizer to ensure all chemicals are removed from the floor.
- Dry the Floor: Allow the floor to dry completely before proceeding to the next step.
- Apply New Wax: Using a clean mop or applicator, apply a fresh coat of floor wax evenly over the entire surface. Follow the manufacturer’s recommendations for drying time between coats.
- Buff the Floor: Once the wax has dried, use a floor buffer or a high-speed burnisher to buff the floor to a beautiful, glossy finish.
- Replace Furniture: After the wax has fully cured, move furniture and other items back into the room.
Floor strip and wax is a transformative process that can breathe new life into your floors, whether they are in a residential or commercial space. The benefits are clear: improved appearance, enhanced durability, increased safety, and cost-effectiveness. By following the step-by-step process outlined in this guide, you can enjoy the many advantages of floor strip and wax and maintain a clean and beautiful environment for years to come. Don’t let worn-out floors dim the appeal of your space; instead, consider the art of floor strip and wax to revitalize and protect your flooring investment.